This week I thought I’d share a little look at how I set up and record a multi camera interview.
Thanks to David Wiseman at W3 Design for allowing me to share some content from my recent filming with him.
Put simply, a multi camera interview is a great way of providing a multi faceted view of a single point of interest (the interviewee).
It’s also much easier to edit as you can simply cut to another angle without the need to use cutaway shots to mask those edits.
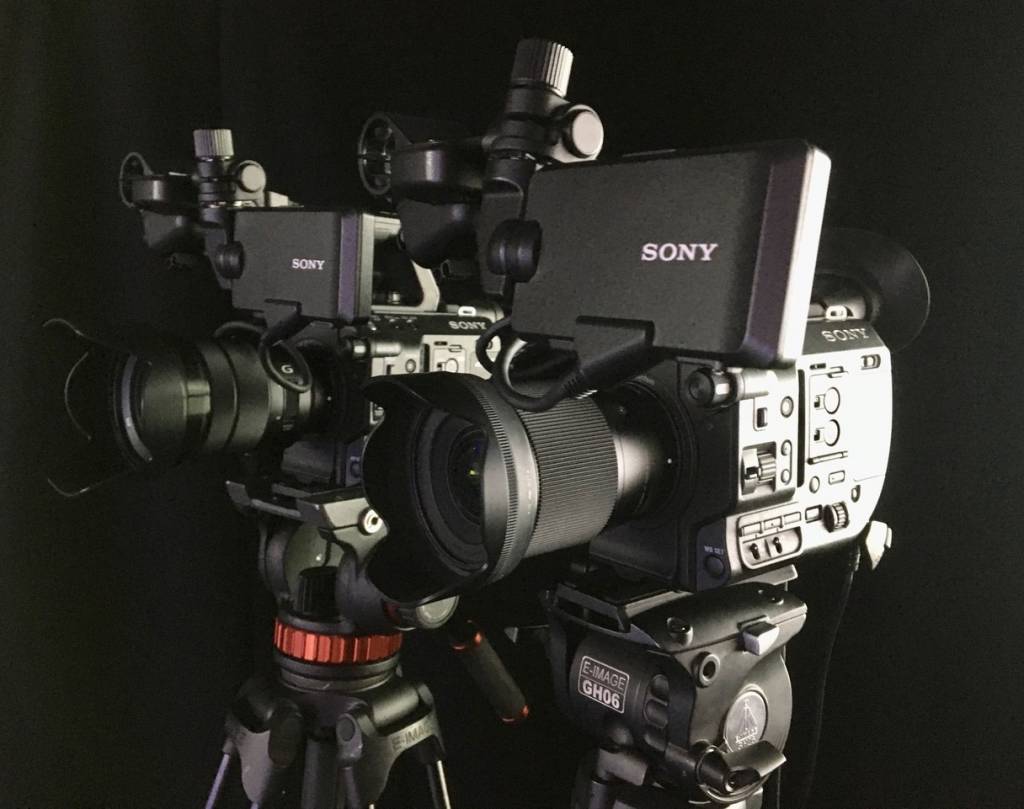
For my set up I use two Sony FS5MK2 cameras, one front facing and one profile, along with a Sony A7III to shoot hand held b roll.
To frame my shots I like to have a waist to head shot on camera 1, a profile close up head shot for camera 2.
For all shots I make sure that both the subjects eyes are in shot and allow two fingers above the head of the subject when framing.
For lighting I’m using a Rotolight ANOVA as a key source, two NEOs for a fill and a kicker and an LS panel as secondary source.
For sound I’m using a RODE wireless lavalier set up (although I did originally set up an overhead boom and shotgun mic first).
Once my lights and subject are set and lit I’ll white balance using either a scrim or white card.
Recently I’ve been taking an ATEM mini switcher on projects with me. When linked to an ATOMOS Ninja V monitor / recorder, It’s great for checking the colour and exposure from each camera matches and for making final adjustments.
Of course you can also use the ATEM for streaming but that’s the subject for another future blog.
The cameras are all set to record in HLG2 (hybrid log gamma) as it grades nicely in the edit.
So once we’re rolling it’s a ‘clap for sync’ and off we go, check out the results below…


